Sneaker Care 101: How to Make Them Last Longer
You know the feeling. You buy a pair of sneakers; they look incredible for about three weeks, and then somewhere between a rainy Tuesday and a scuffed kerb they start looking like shoes you’ve owned for three years.
The white midsole has gone grey.

The toe box is creased. One lace is slightly darker than the other for reasons you can’t explain. And the shoes aren’t even that old.
Sneaker care isn’t complicated — but it does require doing the right things at the right time, and most men either do nothing or do everything too late.

The difference between a sneaker that looks good for six months and one that looks good for three years is almost never the shoe. It’s the maintenance.
This guide covers the full picture: cleaning, protecting, storing, and the specific habits that change how long your sneakers actually last.
I’ve tested most of the products mentioned here personally, and the ones I haven’t, I’ve put on clients’ shoes with their permission.
Everything here is practical, specific, and — where it matters — opinionated.

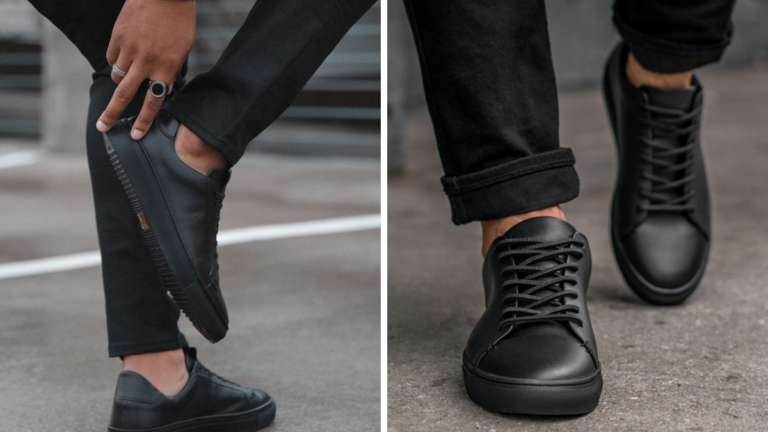
Before You Even Wear Them: Protection First
1. Apply a Sneaker Protector Spray Before the First Wear – Not After
This is the single most skipped step in sneaker care and the one with the most impact. A water- and stain-repellent spray creates a barrier on the upper that prevents liquid and surface dirt from bonding to the material, so when something lands on your shoe, it beads off rather than soaking in. Applied after the fact, once the stain is already set, most protector sprays do very little.
Crep Protect (~$12) and Jason Markk Premium Repel (~$14) are the two I recommend. Both are safe for leather, suede, canvas, and mesh — the four most common sneaker materials. Spray in a well-ventilated area, hold the can 6–8 inches from the shoe, apply two light coats rather than one heavy one, and let it dry fully (20–30 minutes) before wearing. Reapply every 4–6 weeks for shoes you wear regularly.
Real-world use case: White leather sneakers treated with a protector spray before first wear will stay noticeably cleaner for months longer than untreated pairs. The investment is $12–$14. The replacement cost of the shoe is $90–$150+. This calculation should be obvious.
This is the first thing I tell every client who shows me a new pair of sneakers. No exceptions.
2. Stuff Them With Shoe Trees or Paper Before Storage — Not Just After Long Wear
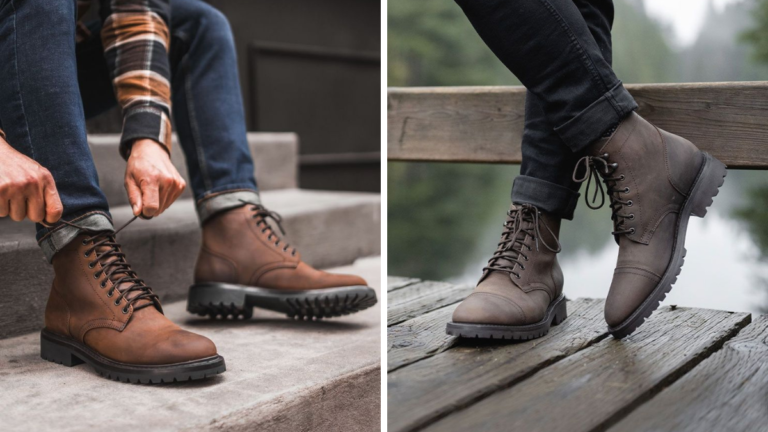
Cedar shoe trees do two things: they absorb moisture (cedar is naturally hygroscopic, meaning it draws water out of the materials around it), and they hold the shape of the shoe so the toe box doesn’t collapse and the upper doesn’t develop permanent creases.
For leather sneakers especially, where creasing at the vamp is the first visible sign of ageing, this matters.
Stratton and Woodlore make reliable cedar shoe trees in the $20–$30 range for a pair. For canvas or knit sneakers, a tightly crumpled piece of acid-free tissue paper works nearly as well and costs almost nothing.
What you shouldn’t do: leave sneakers empty in a pile, which accelerates the collapse of the heel counter and the foxing around the sole.
Practical tip: Insert shoe trees or paper immediately after taking the sneakers off, while the material is still slightly warm and more responsive to reshaping. Waiting until the next day makes the process less effective.
Cleaning: Material-by-Material
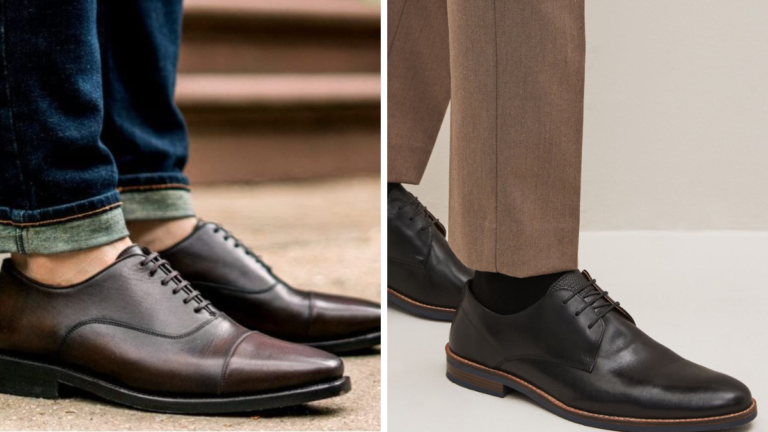
3. Cleaning Leather Sneakers — The Method That Actually Works
Leather sneakers need a slightly different approach than most men apply. A damp cloth removes surface dust; a dedicated sneaker cleaner handles the rest.
Jason Markk Ready to Use (~$10 for 8oz) is a foam-based solution that breaks down dirt without drying out or discolouring the leather.
Apply it with a soft-bristle brush (the Jason Markk Premium Brush, included in their kit, works well), work in small circular motions, and wipe off with a clean microfibre cloth.
What you shouldn’t use: dish soap (it strips the oils from the leather, which causes it to dry and crack faster), magic erasers on the upper (they work on rubber soles but are too abrasive for leather), or machine washing (the heat and agitation break down the adhesive bonding the sole to the upper, often catastrophically).
After cleaning, apply a small amount of leather conditioner — Leather Honey (~$16) or Bick 4 (~$8) — every 8–12 weeks if you wear the shoes regularly.
Conditioning replaces the oils that cleaning and wear gradually remove, which is what keeps leather supple and crease-resistant rather than dry and brittle.
Styling tip: After conditioning leather sneakers, buff them lightly with a soft cloth while the conditioner is still slightly tacky. This brings up a low-level shine that makes the leather look fresh and intentional — not polished like a dress shoe, just alive.
4. Cleaning Suede Sneakers — The Material Most Men Treat Wrong
Suede is the most high-maintenance common sneaker material, and most men either avoid it for that reason or ruin it by treating it like leather.
The rules are different. Water is the enemy of suede in its liquid form but can be used carefully in very small amounts for cleaning — the key is never soaking the material.
For dry dirt and surface marks, a suede brush (stiff brass or nylon bristles — the Kiwi Suede & Nubuck Brush costs about $7) used in one direction will lift surface dirt without damaging the nap.
For more stubborn marks, a suede eraser (a block of crepe rubber or soft abrasive — usually included in suede care kits, or available separately for $5–$8) can remove dried stains without water.
For liquid stains that have already dried: blot the area with a barely damp cloth, allow to dry completely, then brush the nap back into place. Never apply heat to speed drying — it sets the stain and flattens the nap permanently.
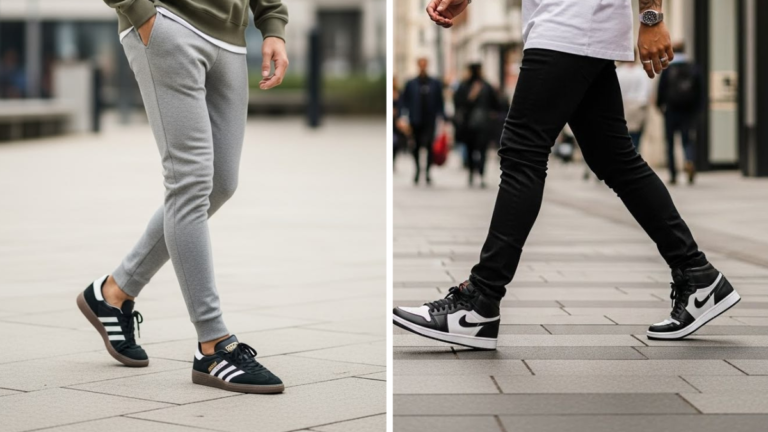
Real-world use case: A pair of grey suede Gazelles worn through autumn will start showing wear marks and traffic dust after a few weeks. A monthly brush-down with a suede brush and a protective spray reapplication keeps them looking actively cared-for rather than just surviving.
Read also: 10 Sneaker & Outfit Combos That Always Win
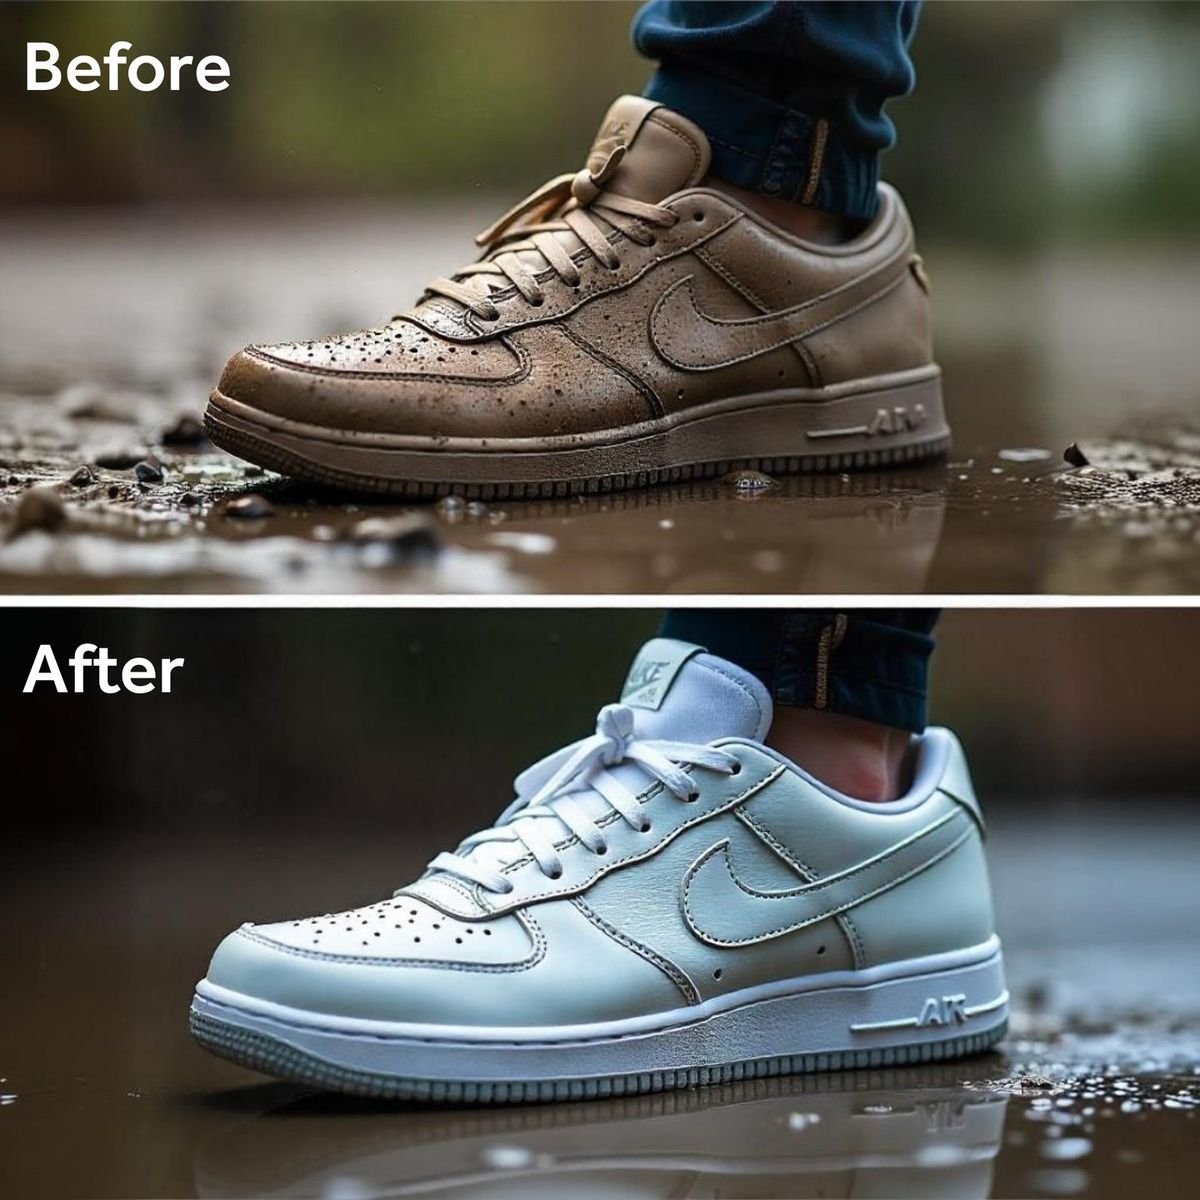
5. Cleaning White Rubber Soles — The One Area Where Baking Soda Still Wins
The rubber sole — particularly the midsole and foxing of a white sneaker — is where yellowing and scuffing are most visible.
A magic eraser (the Mr. Clean Magic Eraser original, $4–$6 for a pack of two) is one of the most effective tools for removing surface scuffs and grey marks from white rubber, because its micro-abrasive foam physically lifts the contamination without needing chemicals.
For deeper yellowing, a paste made from baking soda, hydrogen peroxide (3%), and a small amount of dish soap — applied with an old toothbrush and left for 15–20 minutes before wiping — can restore white rubber significantly.
This isn’t a myth: the mild bleaching action of hydrogen peroxide combined with the abrasive texture of baking soda removes oxidation that cleaning products alone can’t touch.
One important distinction: this paste is for rubber only. Keep it away from the upper, the midsole foam, and any mesh panels — it will discolour or damage all of them.
6. Cleaning Mesh and Knit Sneakers — Gentle Is the Only Speed
Mesh and knit uppers — found on most running shoes and many lifestyle trainers — are the easiest to stain and the trickiest to clean without damaging the material. The fibres are open and porous, which means liquid and dirt penetrate quickly. The approach has to be low-aggression: a small amount of mild sneaker cleaner on a soft brush, gentle circular motions, and immediate blotting with a clean cloth.
Sneaker LAB and Reshoevn8r both make cleaning solutions that are pH-neutral and safe for mesh — important because acidic or alkaline cleaners can break down the bonding agents in knit materials over time. Rinse the brush regularly during cleaning so you’re lifting dirt off the shoe rather than redistributing it.
Machine washing in a laundry bag on a cold, gentle cycle is possible for some mesh sneakers, but check the manufacturer’s guidance first — many brands specifically advise against it because the spin cycle can deform the upper and separate the sole.
💡 Pro Tip
“The biggest mistake in sneaker care isn’t neglect — it’s timing. Men clean their sneakers when they look dirty, which is already too late for easy restoration. Clean them when they look slightly dusty — after every three to five wears — and the process takes five minutes. Wait until they’re visibly dirty and you’re looking at twenty minutes minimum, often with diminishing returns. Prevention is always faster than recovery.”
Storage and Long-Term Care
7. Never Store Sneakers in Direct Sunlight or Plastic Bags
UV light is one of the primary causes of midsole and rubber yellowing, and it acts on materials even when the shoe isn’t being worn.
A pair of white sneakers left on a sunny windowsill will start yellowing within weeks, even if they’re barely worn. Keep sneakers in a box, a shoe bag, or a closed shelf — anywhere out of direct light.
Plastic bags are the other storage mistake. Plastic traps moisture, which accelerates the yellowing of rubber and can cause mildew to develop in leather and suede linings.
If you’re storing shoes long-term, use breathable cotton shoe bags or the original box, and add a silica gel packet to absorb ambient moisture.
Practical tip: The original shoebox is actually one of the best storage solutions available — it’s the right size, it’s breathable cardboard, and it protects from both light and physical damage. The reason most men don’t use it is that they don’t keep it. Keep the box.
8. Rotate Your Sneakers — At Minimum, Two Pairs in Regular Circulation
Wearing the same pair of sneakers every day compresses the midsole foam without giving it time to decompress overnight.
Over weeks and months, this permanently reduces cushioning, accelerates sole breakdown, and contributes to the general flattening and ageing of the shoe.
Rotating between two pairs — even just two — gives each pair 24–48 hours between wears to recover its shape and breathe out moisture.
This is also why daily rotation extends the life of each pair individually: the total wear hours are split, the midsole compression is halved, and both pairs age more slowly than one pair worn daily would.
I started recommending two-pair rotation to every client I worked with, and without exception, they reported their shoes lasting noticeably longer. It’s one of those things that sounds obvious once you hear it but that almost nobody does.
9. Re-Lace Them Periodically — Laces Die Faster Than Shoes Do
Laces are one of the smallest and most overlooked parts of a sneaker, and one of the fastest to show wear. A grey, fraying lace on an otherwise clean shoe undermines the entire look. Replacement laces for most sneakers cost $5–$8 and take four minutes to change.
For white leather sneakers, flat woven cotton laces look the cleanest and most intentional. For retro runners and chunky trainers, a slightly thicker flat lace — or an oval-profile lace — often looks better than the thin round laces many shoes come with.
Flat Laces and Angelus both make high-quality replacement laces in a wide range of widths, lengths, and colours.
Practical tip: When you buy a new pair of sneakers, order a backup set of laces in the same colour at the same time. They’ll cost you $6 and you won’t need to track down an exact match when one lace eventually snaps or goes grey.
10. Know When the Shoe Is Done — And Let It Go
This one sounds counterintuitive in a sneaker care article. But knowing when a shoe has reached the end of its useful life is part of caring for your wardrobe.
An EVA foam midsole that has fully compressed and no longer rebounds isn’t providing cushioning — and wearing a shoe past that point is bad for your feet.
A leather upper that has cracked beyond what conditioning can restore is going to continue deteriorating. A sole that has separated from the upper significantly and can’t be cleanly re-glued is a shoe that’s done.
Signs that a sneaker is past salvageable: permanent midsole compression (press your thumb into the foam — if it doesn’t spring back at all, the foam is gone), significant upper delamination, cracked or broken heel counter. Everything short of this is fixable. Past this, retire the shoe.
Re-soling and upper repair through a cobbler is worth exploring before disposal — many leather sneakers can have their soles replaced for $40–$60, effectively doubling the shoe’s lifespan. Not every sneaker construction supports this, but it’s worth asking.
Read also: Best Sneakers for Men With Wide Feet
Product Reference: What to Actually Buy
If you want to set up a complete sneaker care kit without overcomplicating it, here’s the practical shopping list:
- Crep Protect Spray ($12) — protector spray for all materials
- Jason Markk Ready to Use ($10) or Reshoevn8r Solution ($12) — all-purpose cleaner
- Jason Markk Premium Brush ($10) or a soft-bristle shoe brush — cleaning brush
- Suede brush + suede eraser ($10–$15 combined) — for suede and nubuck only
- Cedar shoe trees ($20–$30 per pair) — for leather sneakers
- Mr. Clean Magic Eraser ($5) — for white rubber soles
- Leather Honey or Bick 4 ($8–$16) — leather conditioner
- Replacement laces ($6–$8) — keep a backup pair for your most-worn shoes
Total investment: roughly $80–$100, one time. The cost of replacing one pair of quality sneakers early: $90–$200+. The maths is simple.
The Takeaway
Sneaker care is not a hobby — it’s a short, regular practice that protects an investment you’ve already made. Clean frequently and lightly rather than infrequently and intensively. Protect before wearing, not after damage. Store properly, rotate consistently, and know the difference between a shoe that needs attention and one that’s finished.
The men who always seem to have great-looking shoes aren’t buying more shoes. They’re just taking care of the ones they have.
What’s in your current rotation — and what are you struggling to keep clean? Drop it in the comments and I’ll give you a specific answer.
Read also: